How to Mount ISO and IMG Files in Windows 10
One of the great features of Windows 10 is the native ability to mount ISO and IMG files in File Explorer with just a double click. The operating system creates a virtual drive which mounts the contents of the disc image file and makes it available, exactly as if you have inserted a physical disc into the optical drive.
 The ability to mount ISO files in File Explorer was first introduced in Windows 8. It was one of the best improvements the operating system received.ISO and IMG files are special file disc image formats which can store the captured contents of an optical disc or a removable disk. The disc image file is an exact copy of the contents of some DVD or CD media. It is also possible to make an ISO image file manually from any files you have on any drive, or convert an ESD image to ISO.
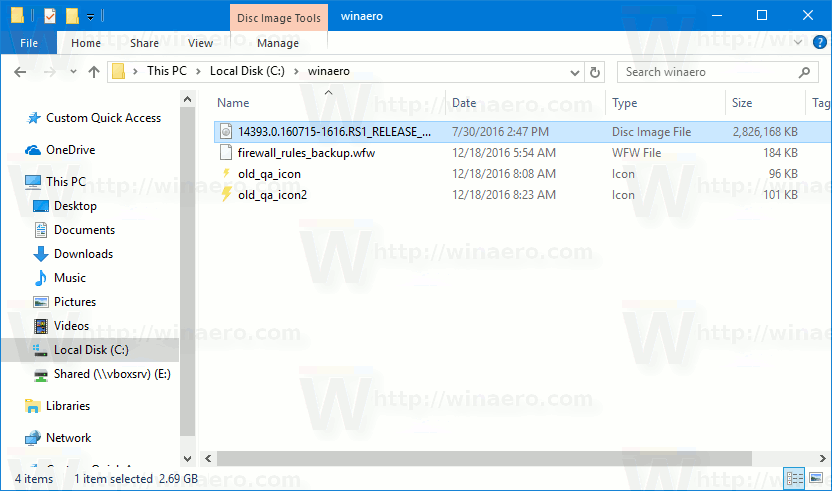
To Mount ISO and IMG Files in Windows 10, open File Explorer and go to the folder which stores your ISO file.
Double click the file or right click it and select “Mount” from the context menu. It is the default context menu command.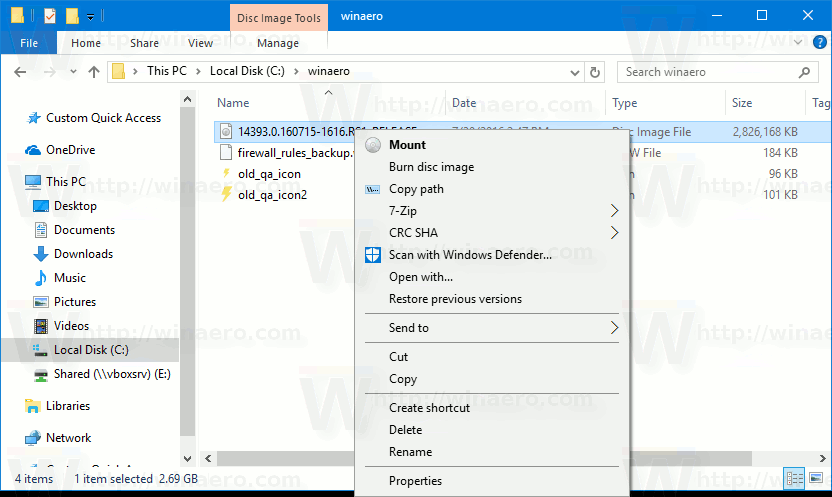
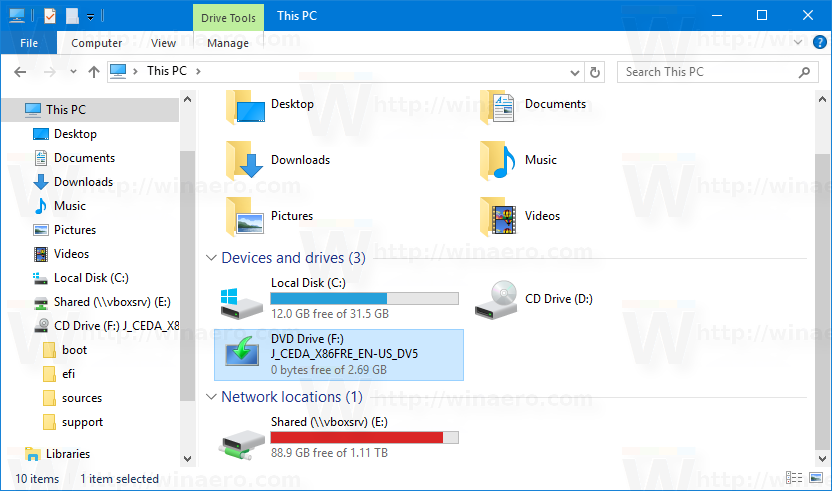
The disk image will be mounted in a virtual drive in the This PC folder. See the screenshot.
Sometimes, the file association for ISO or IMG files might be taken over by a third party app. For example, my favorite archiver, 7-Zip can open ISO files. In that case, the ISO file is associated with 7-Zip if you have set it as the default from Control Panel. When double clicked, the ISO file will open in the associated app.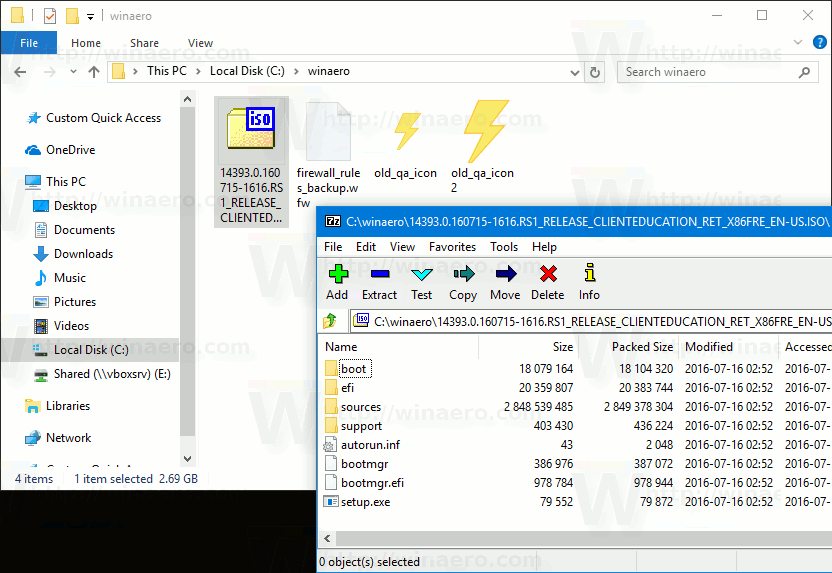
In that case, you can restore default file associations, or mount the file from the context menu.
Right-click the ISO file and select Open with – Windows Explorer. See the following screenshot: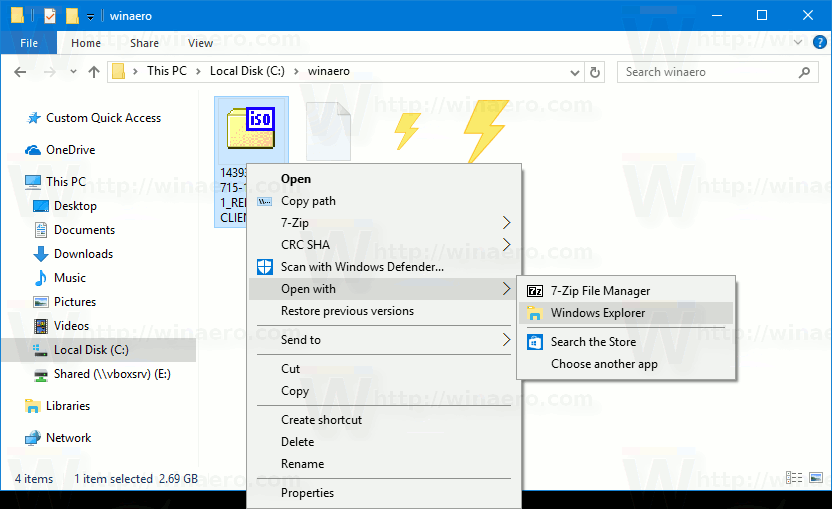
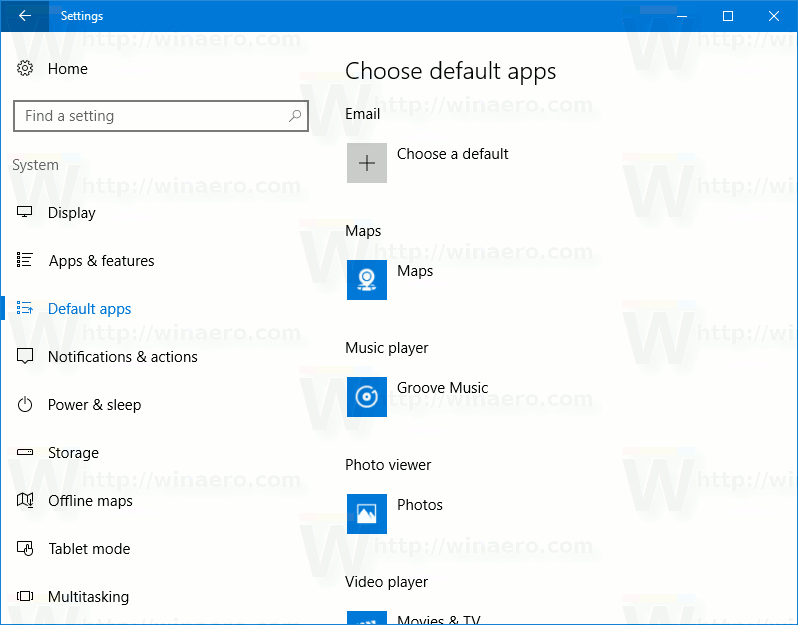
Alternatively, you can restore the default file association. Do it as follows.
- Open Settings.
- Go to System – Default apps. In Windows 10 Creators Update, go to Apps – Default apps.

- There, scroll down in the right pane to the link “Choose default apps by file type”.
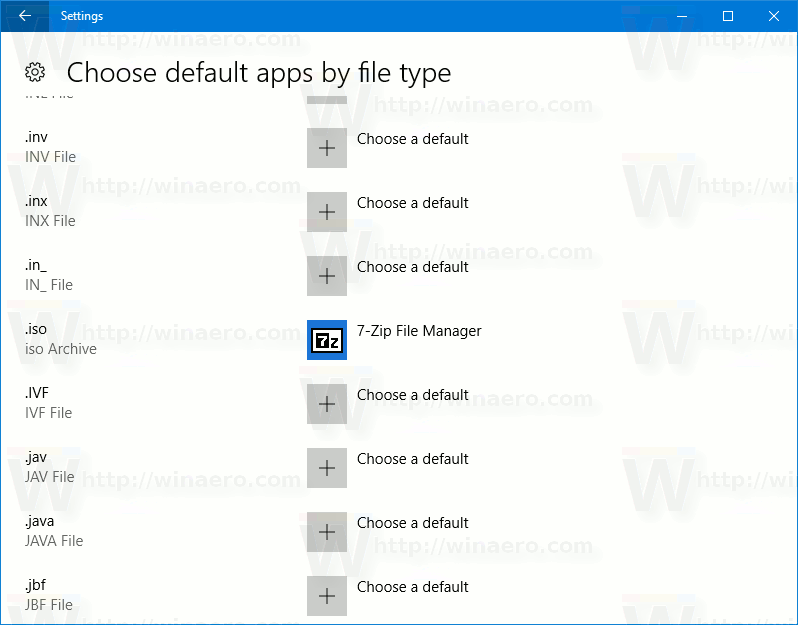
Click it. - On the next page, find the ISO file type.
- On the right side, click to choose Windows Explorer as your new default app.This will restore the default file association.


Note: Windows 10 allows the user to mount ISO and IMG files which are stored on an NTFS partition on the device which is connected to your PC. Other file systems and locations are not supported. For example, if you try to mount an ISO file from a network share, it shows the following message: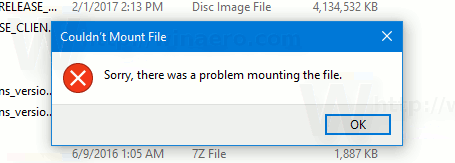
[Window Title]
Couldn’t Mount File[Content]
Sorry, there was a problem mounting the file.[OK]
Alternatively, Windows 10 allows you to mount ISO and IMG files using PowerShell.
Open PowerShell and type the following command:
Mount-DiskImage -ImagePath <Full path to your ISO file>
You can copy the path to the file and paste it into the PowerShell console. See the screenshot below.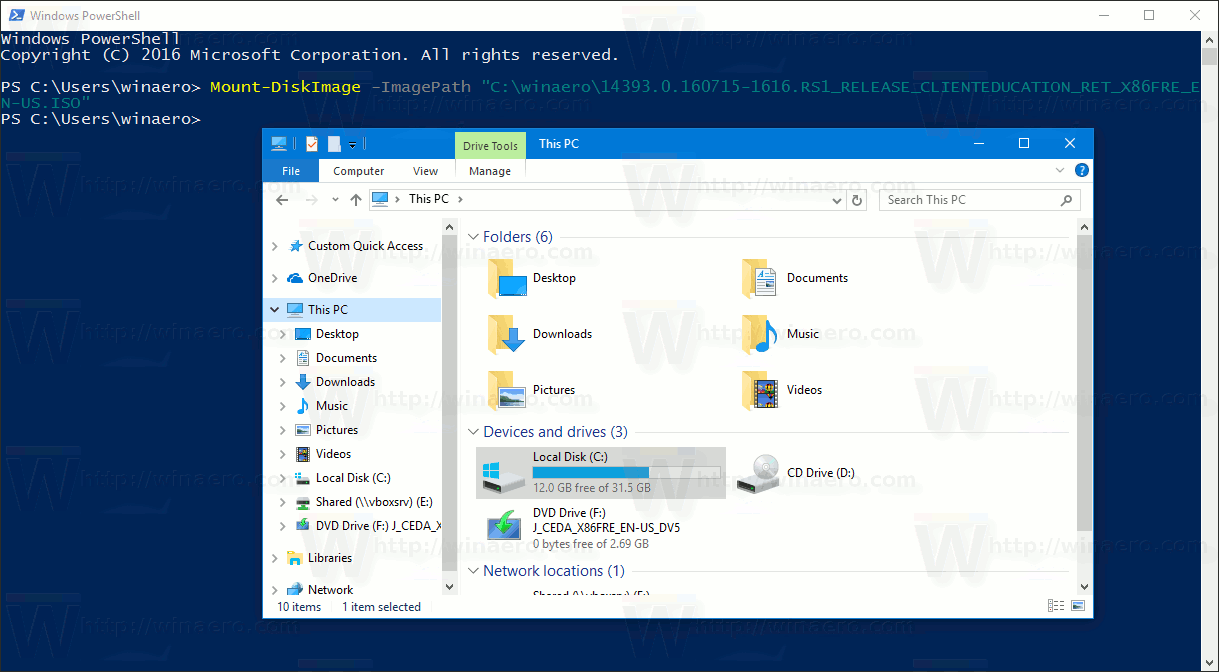
Once you finish your work inside the mounted ISO image, you can unmount it.
In File Explorer, open This PC and select “Eject” from the context menu of the virtual drive.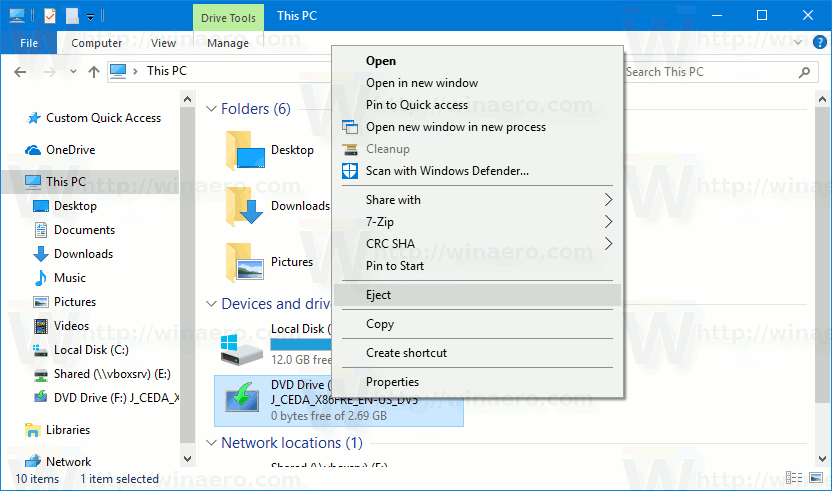
Alternatively, in PowerShell, use the cmdlet Dismount-DiskImage as follows:
Dismount-DiskImage -ImagePath <Full path to your ISO file>
See the following screenshot.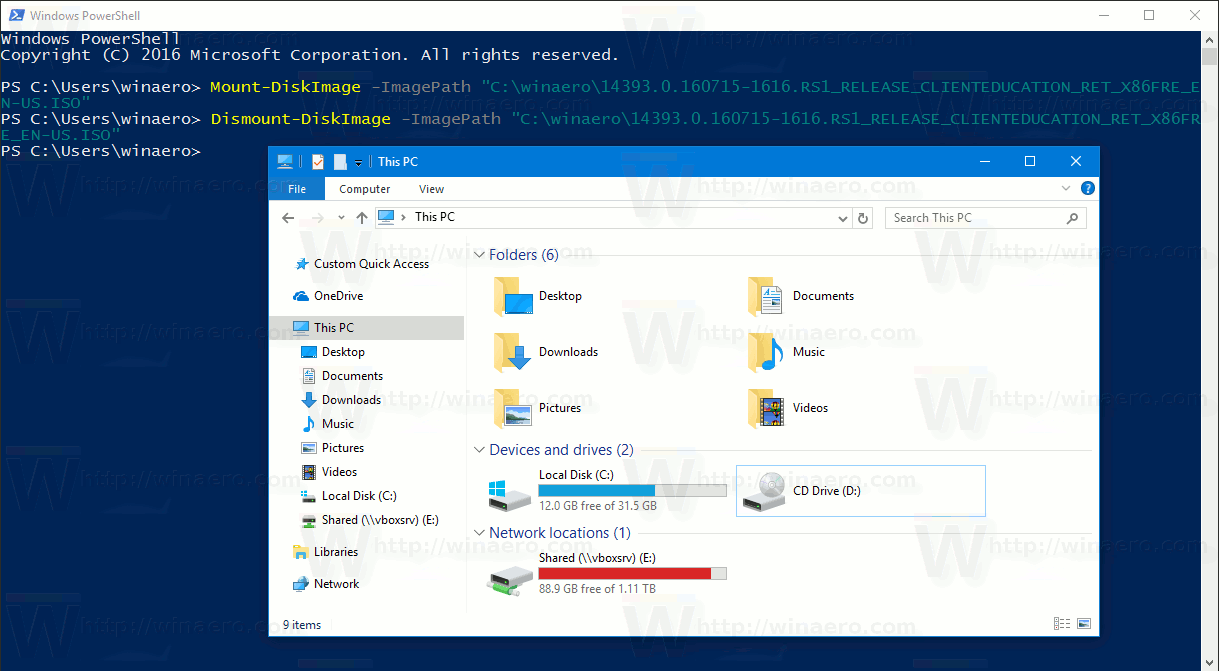
That’s it.

